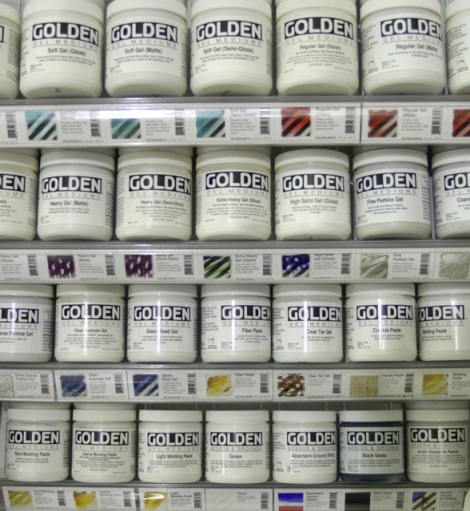
Now don’t panic… I know, I know, there are SOOOO MANY bottles, tubs and pots out there, it can really be a bit daunting. First of all, you don’t need them all! Actually, you can do without them altogether it you want (but it would be sad because this, precisely, is where acrylics take their revenge on oils and other paints as thanks to these you can make your paint do almost ANYthing!). Also, quite a few cross over into other products and their possibilities so you will NEVER need them ALL! Breathe… read on…

I’ve put the pastes first in this section because they are the closest thing to a ground (you can actually substitute a paste for your last layer of gesso). Being filled with marble dust, diatomite (a crushed rock close to pumice) or clays, pastes dry to an opaque white or clay-tone finish. As a result you tend to put them on first… but you can mix paint in them and they with dry opaque and colourful! These all do something quite precise.
- Moulding paste is the one offered by most companies (with sometimes variations of Light, Regular, Coarse and Hard) and, mixed with paint, is ideal for building layers and thick textures without the weight of gels. But there is no need for colour at all… You can invent a whole landscape then simply paint over the 3D dried moulding paste.
- Fibre paste is beautiful in itself but also very absorbent, giving you a feel akin to paper… a great ground for washes.
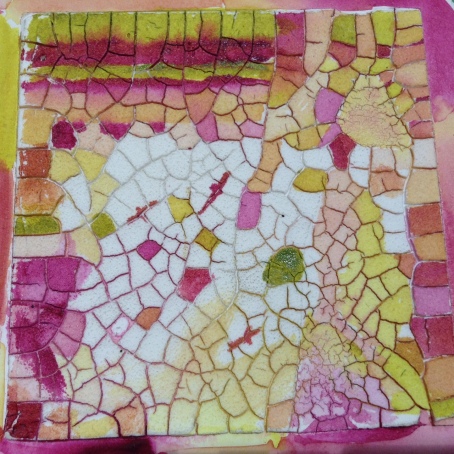
- Crackle paste is the ultimate fun one though as it produces some really fab effects… you have to be a bit patient with this one as it often needs an overnight time to produce the cracks and have to be a bit generous too because it you lay it too thin it doesn’t crack much I’ve found.
Then come the thick, jelly-like gels, these are like colourless paint and dry transparent. If you choose to add some to alter the consistency of your paint (from pourable to highly solid) you can nearly divide the selection of gels by three as they virtually all come in Matte, Satin and Gloss. Choose your sheen, the heaviness of your gel and then concentrate on what you want that gel to do for you…

- Regular gel is on par with the heavy body paint so if you mix it in your paint it will extend it or add more transparency without changing much the paint’s viscosity.
- Heavy/Extra heavy/ High solid gels are thicker and these variations help you hold peaks, build more surface and retain deeper brush or palette knife strokes.
- Some gels have little “things” in them: beady, grainy, flaky, shiny bits that will give texture and substance. These are not for every one but can add really cool effects.
- Pumice gels add tooth: fine to create a good drawing ground, coarse and extra coarse to turn that road in your painting into a proper gritty one!
- Self Leveling gel, when added, produces an even (very glossy!) paint film which helps level other products.
- Clear Tar gel has a stringy quality which allows you to drip fine lines on your surface rather than blobs.

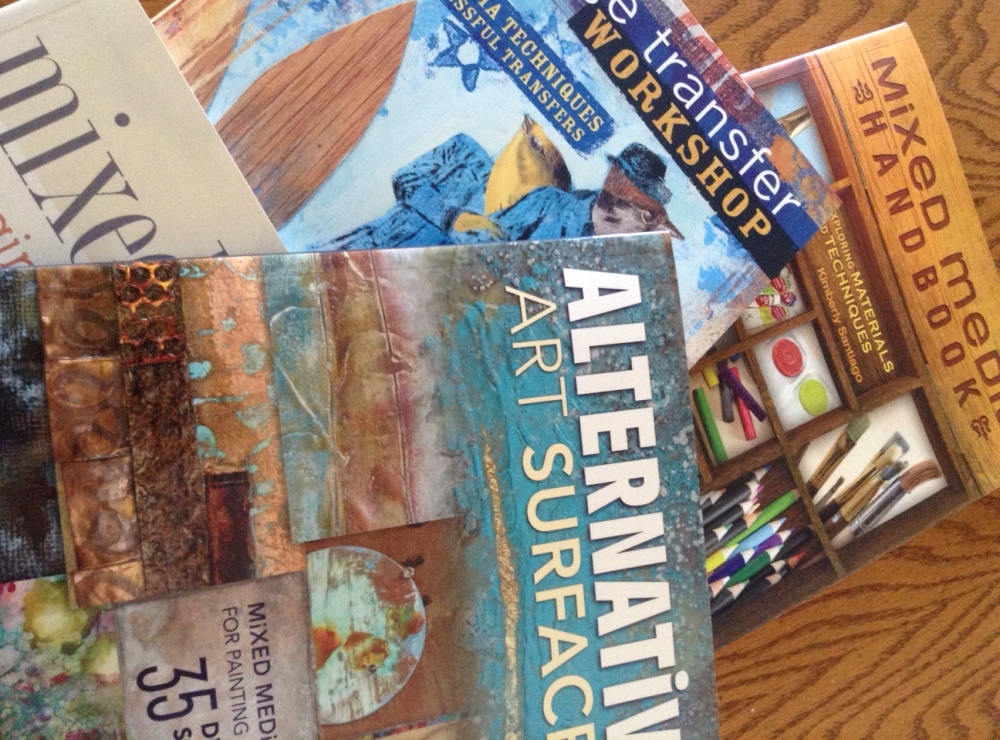
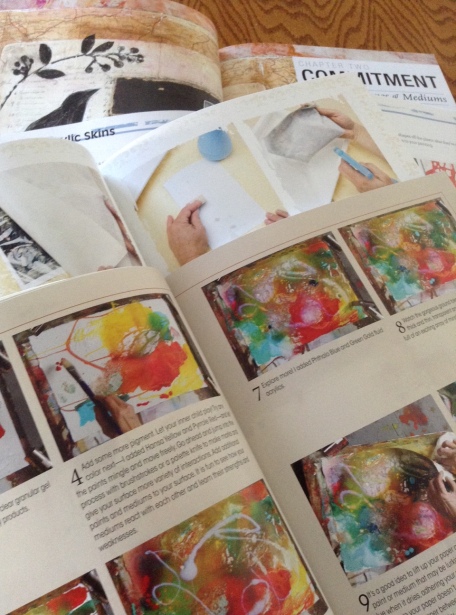
Getting to play with pastes and gels during a demo as we facilitate in my shop (and most probably elsewhere) is usually the best way to try them as it can be a bit dear to buy the whole collection and I would doubt they will all be to your taste anyway. Many shop assistants don’t really know them in depth either but a good way, if demos are not offered in your area, is to watch online videos (there are literally hundreds out there), there are also some great books showing you step by step how to achieve a specific outcome. Once you’ve selected a few you like the results of, invest in them with some friends and have your own show and tell day… fun! (Make sample boards to remember what’s what later.)
Finally, the transparent drying mediums /additives are very similar in their range to the mediums used with oil paint and you will probably be happy to own quite a few of these. Depending on the one you pick they extend the paint without losing the intensity of your colour, give you more time to play with your paint, release flow, turn your paint into glazes, alter the sheen or transparency of your paint too and often combine more than one of the above qualities. Although you can’t use one instead of another -a retarder and a flow release are not going to do the same job- I suspect you’ll probably get quite a range over time for different works or stages in your work.
- Gloss medium will extend your colours, helping you make all your pigments glossy (remember they aren’t all naturally so) and more transparent. Adding this will give you more flow and give a more rounded finish.
- Matte medium will also extend your colours but obviously will make all your colours more matte! It can also be used as a clear ground (or gesso) and matte medium is the ultimate glue for collage. If you are playing with fluid paints, choose fluid matte medium. If you want an even ‘matter’ result, choose the super loaded matte medium.
- Glazing medium (not available in matte obviously but often both in gloss and satin) helps you create beautiful rich glazes resembling those people rave about in oils.
- Retarder will give you more time to play with your paint.
- Flow release will turn them into fluids to high flows.
Some companies offer even more variations in acrylic polymer which will do very specific things… some of these increase hardness or decrease crazing in your paint film, some help seal your porous surfaces, some stiffen the textiles you might choose to paint on, while…
- Airbrush, silkscreen, fabric, iridescent mediums turn your normal paints into these specialty paints (saving you a fair bit if you only need them once in a while!)
You might not be into mixed media at all, you might not want to turn your studio into a lab either and, as I said at the beginning of this section, you don’t need any of the above but… they are all there if you want them!
Which is quite amazing if you think about it…


